Gel Liner Tutorial
By Viktoria @vioda.makeup · Published · Updated
Gel liner sits between a pencil and a liquid: soft enough to smudge for the first thirty seconds, then it sets and stops moving. That short working window is the whole appeal and the whole difficulty. Most of the frustration people blame on their technique is actually the pencil — a tip sharpened badly, a twist-up worn past its useful shape, or a formula that dried out months ago and now drags across the lash line instead of laying down colour.
Watch the tutorial
How to: gel liners ✅ sharpen, twist or throw away #makeup
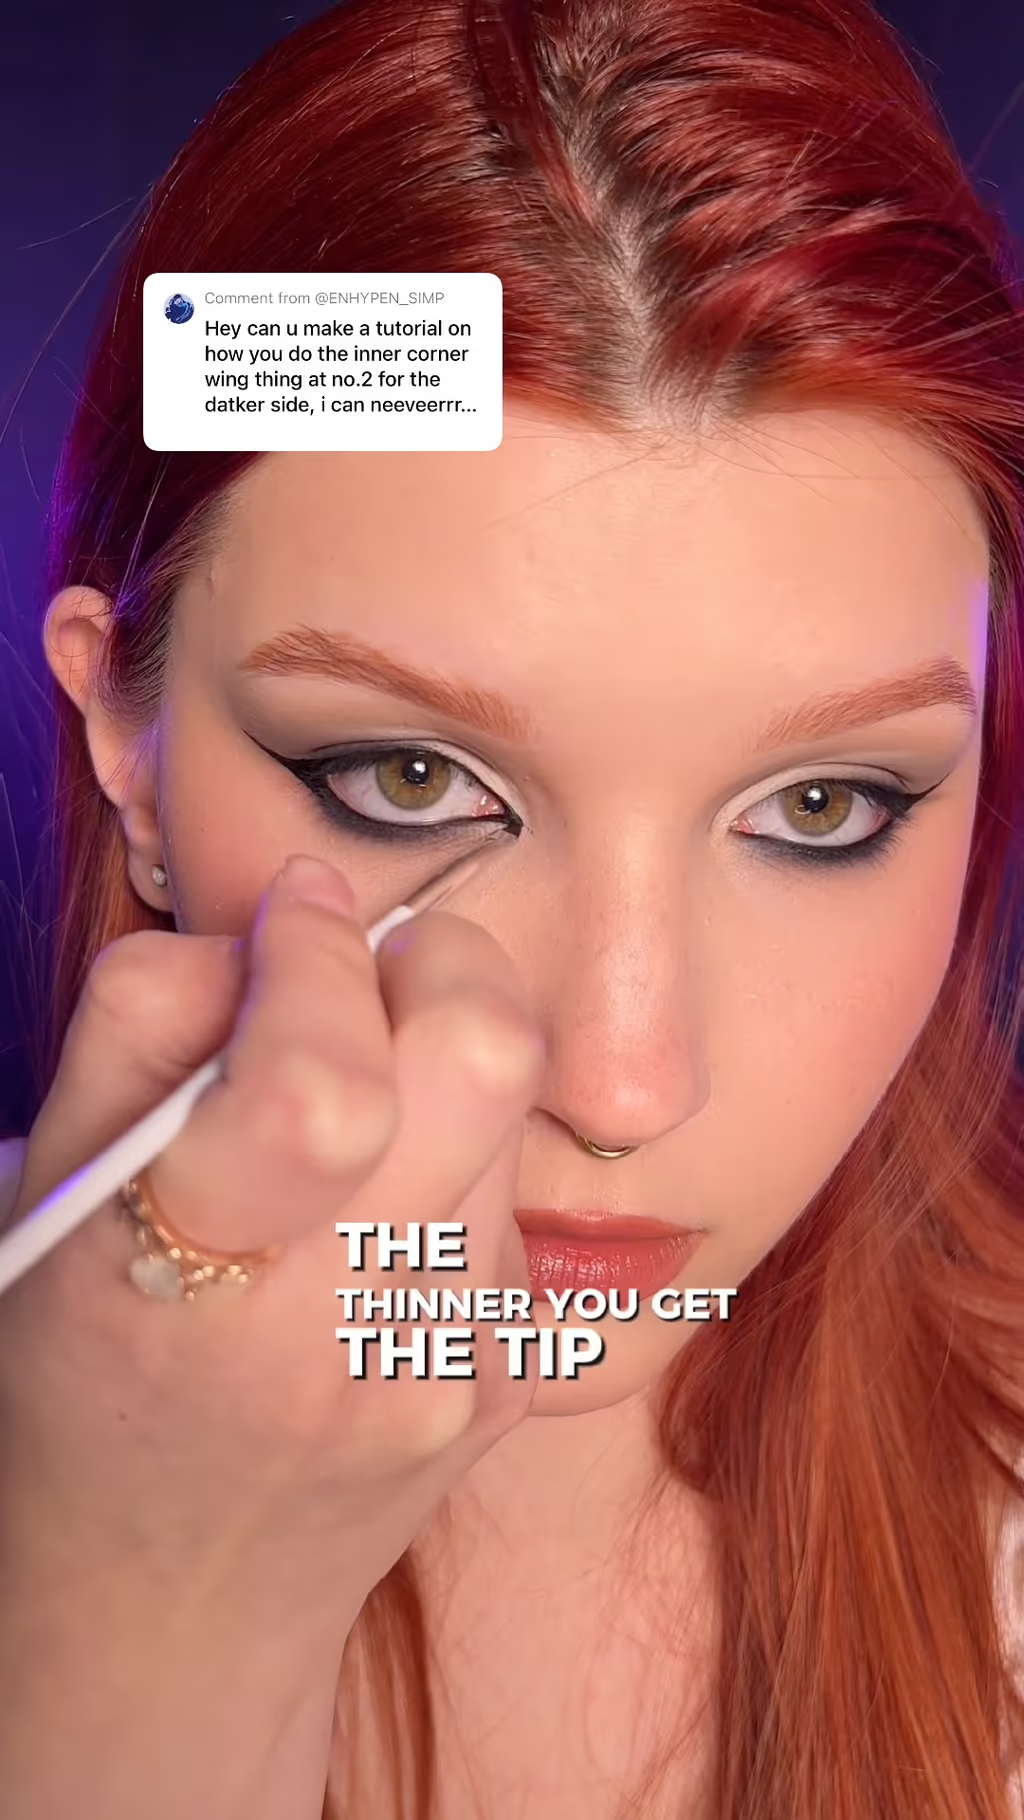
Short · 0:45 · Viktoria @vioda.makeup
Getting a clean line out of a gel pencil — how to sharpen it without snapping the tip, when a twist-up is the wrong tool, and when to throw one away.
Step-by-step
- 1
Warm the tip before it touches your eye
Step 1 of 7Draw one short stroke on the back of your hand first. Gel formulas are firm at room temperature and a cold tip drags, which is what tugs the lash line and lays down a broken line.
- 2
Sharpen a sharpenable pencil cold
Step 2 of 7Put the pencil in the freezer for ten minutes before sharpening. Gel is soft enough that a room-temperature tip crumbles or shears off in the sharpener — the single most common reason people give up on a pencil that was fine.
Tip: Use a sharpener with a wide barrel and a fresh blade. A dull blade tears gel rather than cutting it.
- 3
Know when a twist-up can't be fixed
Step 3 of 7Twist-up gel liners can't be sharpened, so the tip shape you get is the tip shape you keep. Wind out no more than a millimetre or two at a time — over-extend it and the exposed gel snaps under pressure, and there's no recovering the point.
- 4
Line in short strokes, not one sweep
Step 4 of 7Work in three or four short strokes from the outer corner inward, connecting them as you go. One long sweep needs a steadiness nobody has, and gel is unforgiving of a wobble because it sets before you can fix it.
- 5
Smudge inside the first thirty seconds or not at all
Step 5 of 7If you want a soft line, take a smudge brush to it immediately. Once a gel formula sets it is genuinely set — that's why it survives a whole day — and trying to blend it afterwards just breaks the line into patches.
- 6
Set it if you want it to last
Step 6 of 7Press a matching matte shadow over the line with a small brush. Gel already outlasts pencil, and powder over the top is what takes it from a long day to an all-nighter, particularly on the waterline.
- 7
Throw it away when it drags
Step 7 of 7Almost done!A gel pencil that skips over the lash line, needs several passes for one line, or has gone hard at the tip is finished — the volatile solvents have evaporated and no amount of warming brings them back. Most last around a year opened. Using a dried-out one is how people conclude they can't do liner.
Pro tips
- Freeze before you sharpen. Ten minutes in the freezer is the difference between a clean point and half the pencil in the sharpener.
- A gel liner that drags is not a technique problem, it's an expired pencil. Replace it before you spend another week blaming your hand.
- Gel is the right choice for the waterline specifically — it grips a wet rim where pencil skates, and it sets rather than migrating into the lower lashes.
Skin type notes
Oily lids should set gel liner with a matte shadow or it will transfer to the crease regardless of formula. Watery eyes get the most benefit from gel on the waterline, where it outlasts a standard pencil by hours. Sensitive eyes should keep gel to the upper lash line rather than the inner rim.
You might also like

FAQ
Now that you've mastered Gel Liner Tutorial, try one of these next.
Or find dupes for the products in this look to get the same result for less.